Showing posts with label piping. Show all posts

Friday, 10 May 2019

Happy Birthday, Mummee! How to do Swirled Icing

Wow, have I really written 360 blog posts? That's a lot! And to celebrate, I'm sharing the cake I made for my Mum's birthday! Seems quite ordinary, but I'll explain.


When you’ve made as many cakes as I have, sometimes you hit a creative drought. 2017 was an extremely prolific year for my blog, and I think since then my output has been a little stunted by life stresses and pressures: work, wedding planning, martial arts exams, learning how to drive, etc. The last two years has been a manic time in my life, all in good ways for a change! 

Because so much happened over such a short time, I’ve been playing catch up with myself pretty much all throughout. My blog, as such, went on the back burner. 

But now, as school is slackening off in preparation for summer (the Irish summer holidays are very long, and normally start in the last week of May right up until the last week of August, except for those doing state exams) and I’ll soon be having about three months’ paid holidays and loads of free time, baking will be back on the menu big style. 

But anyway, back to what I was saying about creative drought. 

When a family birthday comes around, sometimes I feel a little uninspired: my brother Paddy loves the same chocolate cake every year, my brother Andrew loves the same coffee cake every year, my Mum loves the same lemon cake every year, my Dad loves either a coffee cake or some kind of Bakewell thing every year, I love the same strawberry and cream cake every year.... the only person who likes to try something different every year is my sister Nix, because she loves having a big fuss made over her for her birthday (and why not?) 

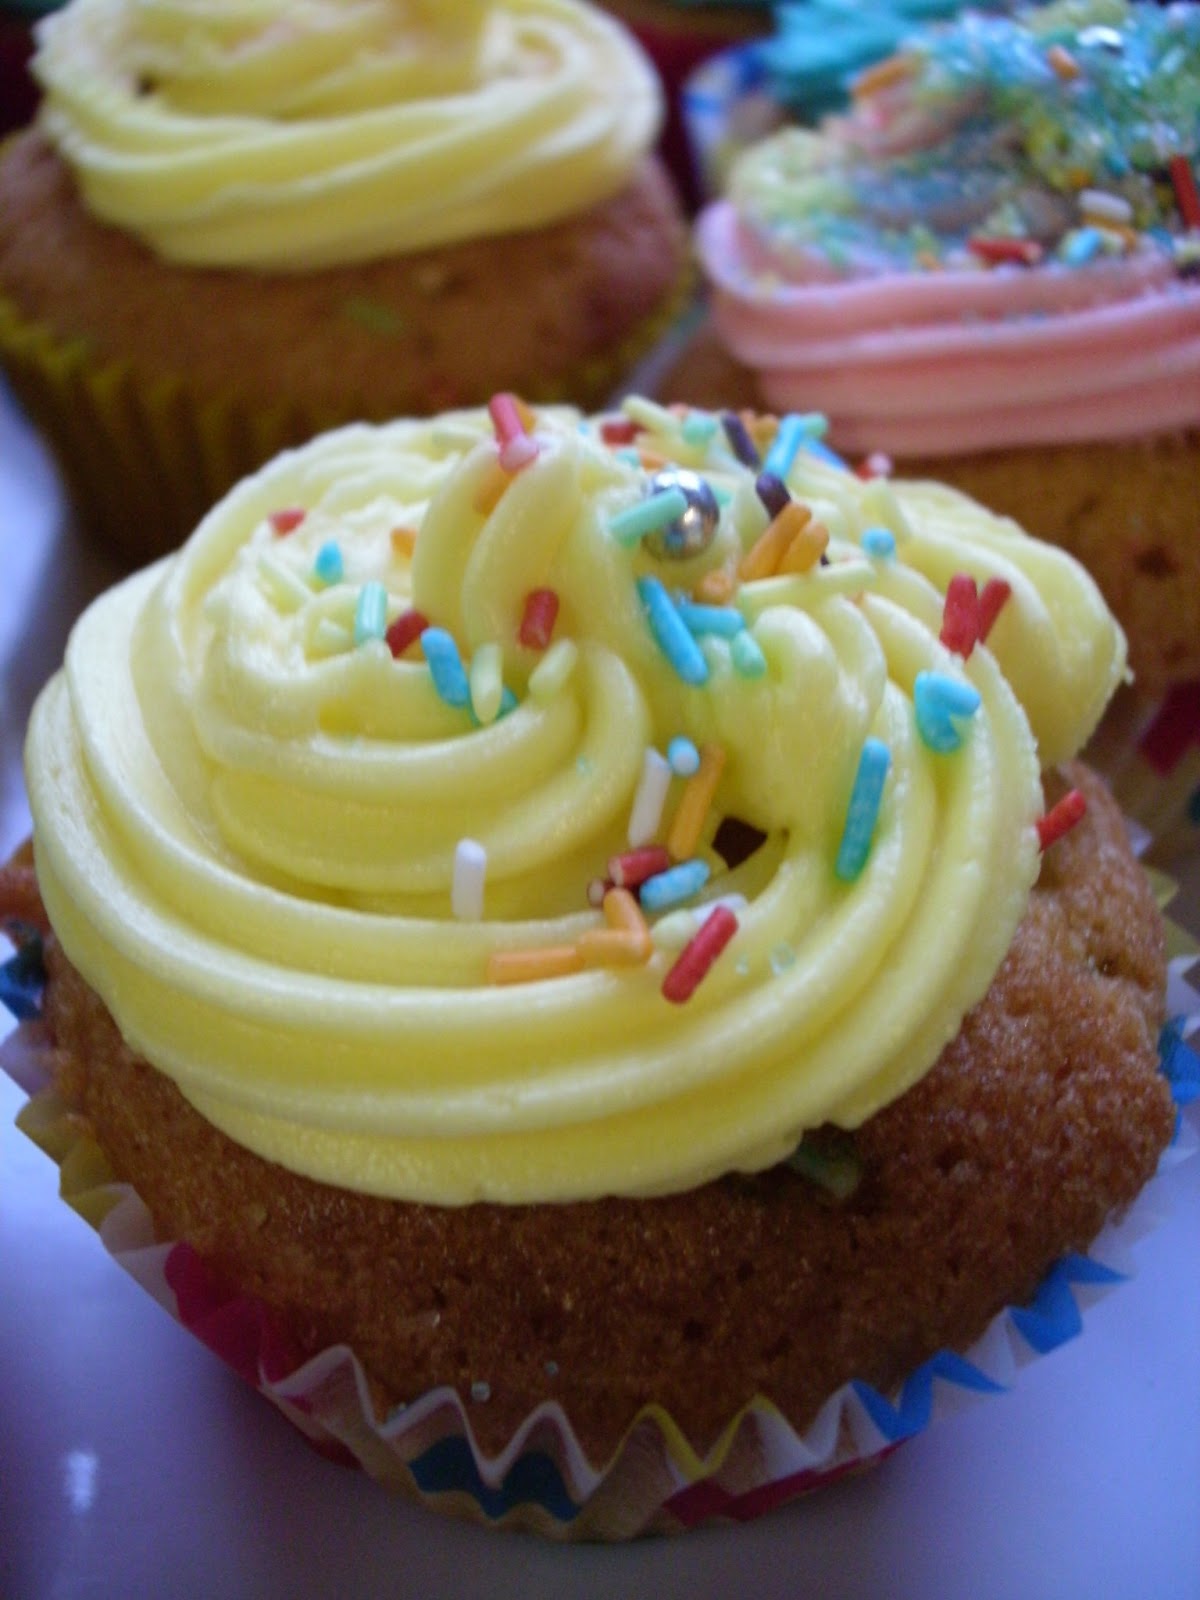
So, May rolled around this year and again it’s time to make a lemon cake for Mum’s birthday. It’s always yellow, always zingy lemon, and always has lemon curd in it. However, this year I decided to use a piping technique that I’ve seen on Pinterest and Instagram so many times but never got around to doing myself. 


Normally, when you do a swirled icing with many colours, one folds the piping bag open over their hand and scrapes the different colour icings along the inside, avoiding contact with each other, so that when you twist and pipe they come together out through the nozzle. However, I’ve found sometimes the colours mix as you pipe, so the distinction between them completely disappears. You can also pop piping bags in piping bags, which is a little wasteful for me. 

I’ve seen people getting around this problem online by using clingfilm (which, albeit wasteful, is nowhere near as wasteful as using loads of piping bags) to keep the colours separate: they spoon the icing into a sheet of film, fold it over to enclose the colour, then add another colour alongside it, then wrap it again, and so on. What you end up with is like a clingfilm and icing Swiss roll of many colours. 


And this worked perfectly! I went with a classic complementary scheme (yellow and purple) and it worked wonders: the white, yellow, and purple stayed separate all throughout piping without mixing. I recommend this method, as long as you don’t mind using cling film.  

Monday, 13 May 2013

Experiment: Homemade Sprinkles


Firstly, happy Coeliac Awareness Week! As you all know, this blog is dedicated to the pursuit of making wheat-free goodies that are as good as any wheat-ful kind you’ll buy in the shops. Please, utilise these recipes to enjoy a few sweeties this Coeliac Awareness Week, just substitute all the spelt flour for gluten-free blend, as spelt is not suitable for a gluten-free lifestyle, just for a select lucky few who are just wheat-intolerant.

Anyway: moving swiftly on.

I’ve always wanted to make my own sprinkles. Why, you ask, would you want to go to all that bother if you can get them in the shop relatively inexpensively? Two reasons: one, when one gets into the mode of making everything themselves from scratch to accommodate for a wheat-free lifestyle, it starts to become less of a necessity and more of a challenge to see how many shop items one can recreate as faithfully as – if not better than – the original version; two, because shop-bought sprinkles have loads of very suspect ingredients in, and my version has only four. Those four ingredients are icing sugar, egg white, lemon juice, and food colouring; if you can get your hands on natural food colourings, you can make completely natural sprinkles.

Also, when you make your own sprinkles, you can make them any shape you want, as long as your piping skill and array of icing nozzles facilitates. I had some left over royal icing from the other day, so I decided to try my hand at making some, and I did a few different shapes. They’re all quite pretty! I think for a first go, they’re pretty awesome...


  • For the traditional, sugar strand style sprinkles, I piped long straight lines of royal icing onto a piece of non-stick baking paper. Once they were completely dry, having been left to set overnight, I cut them into shorter pieces using a sharp knife. You could also break them up with your fingers.
  • I piped a large amount of little dots, and they were pretty cute. They weren’t flat enough to be confetti, but I think they were quite nice in their own right.
  • I also piped some teardrop shapes for added interest; I wouldn’t do that again, to be honest: I didn’t like them as much.


And there they are. I did two different colours and mixed them up, which was a nice touch. You could do any combination of colours: you could have a rainbow mix, or a pink mix with different shades of pink, or green or blue or whatever. Hell, go crazy!


As for the creation of these little beauties, the consistency of the royal icing itself is key. Here are a few tips:

  • Use the recipe in my iced biscuits post, but whip the royal icing to firm peaks. A flowing consistency will be too thin, and the sprinkles won’t keep their shape; very stiff peaks stage is a little too far, but firm peaks stage is just right.
  • Also, when colouring the icing, bear in mind the colour will deepen as the icing dries. Your delicate pink may turn out neon if you’re not careful, but maybe that’s what you want.


This is only my first adventure in homemade sprinkles, so watch this space for more adventures in Sprinkleville!

Thursday, 4 April 2013

Buttercream Icing: the King of all Icings

Buttercream icing is possibly one of the most versatile kinds of icing there is. Either spread haphazardly or
piped artistically onto a cake, it still looks and tastes great, and is very quick and easy to prepare. In fact, the only thing simpler than it is good old whipped cream, which doesn't have the same keeping power as buttercream. It's just butter, icing sugar, milk and flavouring

Due to its simplicity, buttercream icing is easily flavoured, easily used, and easily stored. If you've made too much, you can keep it in the fridge in a air-tight box and it'll keep for up to a fortnight (in my experience). However when storing exercise caution: it must be kept airtight, because it's high butter content (and thus high fat content, sorry to disappoint) makes it a magnet for unwanted tastes and odours.

But Anna - I imagine hearing you say - I'm lactose intolerant? Do I have to give up buttercream forevar? Fear not! I have a friend who is lactose intolerant, and as such making cakes for him was a worry when it came to buttercream. I discovered, however, that it works just as well with margarine instead of butter, and water instead of milk; just make sure it's the soft kind, not the block kind. Then, even as a non-dairy eater, you can enjoy the silky creaminess of buttercream icing.

Here is how to make the baker's wonder material.

INGREDIMENTS:
This will easily ice 12 fairy cakes, or ice the top and fill an 8 inch (20 centimeter) cake.
  • 6 ounces (170 grammes) butter, softened to room temperature
  • 12 ounces (340 grammes) icing sugar, sieved
  • 2 to 3 tablespoons (30 to 45 millilitres) milk, or more if needed
  • 1 teaspoon vanilla essence, or essence of your choice: such as peppermint or almond.
It is absolutely imperative that all the ingredients -- including the milk -- are at room temperature, otherwise the buttercream and curdle.

HOW-TO:
  • Beat the butter, vanilla essence and the first tablespoon of milk with about a third of the sugar to start with, using a wooden spoon or electric hand mixer, until fully blended.
  • Beat in another third of the sugar until fully blended with the second tablespoon of milk, then add the final third of sugar and beat continuously for about 3 or 4 minutes until light, fluffy and pale.
  • If the mixture is too stiff to use properly, add milk a teaspoon at a time until it's just right. It should be soft, but still hold stiff peaks when the beater/wooden  spoon is pulled out of the icing.

And that, truly, is it. The awesome versatility in application and flavouring has been hailed and capitalised upon by bakers for a very long count of years. If you want to make buttercream that isn't just plain old vanilla (which, don't get me wrong, has its time and place), then here are some simple tips, taking the measurements of the above recipe in mind.


If you want an orange, lemon or other citrus icing, take 1 whole citrus and grate off its zest (you want only the orange or yellow outer layer of skin, not any of the white bit underneath – known as pith – because it’s very bitter) and add this with the first addition of icing sugar before beating. Instead of the milk, add the same amount of the citrus juice. You can keep the vanilla essence in for extra sweetness, or replace it with citrus essence for extra zing.

If you would like a chocolate icing, replac½ ounce of the icing sugar with ½ ounce of cocoa powder. This makes a very rich, dark chocolate icing, so if you don’t like it as dark you can reduce the substitution, or use hot drinking chocolate power, which is sweeter.

If you would like a coffee icing, replace the milk with the same amount of very strong black coffee, either made with instant espresso powder or from a filter. If you're extra coffee mad, you can replace the vanilla essence with coffee essence.

For toffee or caramel icing, simply add a tablespoon of golden syrup or toffee-flavoured ice-cream sauce, which you can get from any supermarket. If you can get it, you can use butter-vanilla flavouring instead of the vanilla essence; I managed to get a few vials of such flavouring from Lidl.

For any kind of berry or soft fruit icing, such as strawberry, banana or raspberry, replace the milk with the same quantity of fruit purée (you can make this by squidging fresh or defrosted frozen fruit through a sieve) or add about an ounce of strained jam. Also, you could add some fruit flavoured ice-cream sauce, or milk-shake powder.

For coconut icing, replace the milk with the same quantity of coconut milk or juice. If you can get your hands on solid coconut milk, you can replace an ounce of the butter with the coconut milk.

For peanut flavoured icing, replace half of the butter with smooth peanut butter. If you can get your hands on any other kind of nut butter, you could use those too, such as almond, hazelnut or cashew nut. Similarly, you could substitute half the butter for any other kind of thick, sweet sandwich spread; like Nutella.

The options don't stop there! A while back I made Coca Cola flavoured buttercream on vanilla cakes, which was inspired by a recipe I read online for Coca Cola cupcakes. I tried the original recipe and it was a disaster, but I took inspiration from it to make another cake (at the time I was allergic to chocolate, so this recipe for moist chocolate cakes wouldn't have been for my consumption anyway). The Coca Cola flavoured icing was nice, but in future I think I'll reduce the cola over heat to make it thicker and more concentrated before adding it to the icing.

I hope this recipe serves you well!


It's been a while! Happy 9th Anniversary!

  It's been a while. The past two years have been a helluva a ride. This year is gonna hold some big changes for this blog. I'm comp...