Showing posts with label pi day. Show all posts

Tuesday, 14 March 2017

Pi Day Special: Mississppi Mud Pie (Wheat- and Egg Free)

Happy Pi Day! It is finally March the 14th, and the day to eat pie! And to commemorate this occasion, I'll share with you how I made today's offering: Mississippi Mud Pie!


The only thing I new about Mississippi Mud pie for many years is that my Grandad loves to eat premade ones from the local supermarket (I think it's a Sainsburys), and that there's an infamous scene in the film The Help that revolves around one. But until I researched what maketh a mud pie, for the purposes of making one for Pi Day, I never knew what it comprised of.

I had always assumed it was a cake, but it's actually a chocolate biscuit base filled with some chocolate pudding. Sort of like a South African melktert, but chocolate version. Knowing how much I like melktert, and how much I like chocolate, I thought this would be a winner!


(Insidentally, I've never actually made a traditional vanilla melktert for this blog, only a chocolate one. Maybe that's one to do in future...)

So, without further ado, this is how I made it.

INGREDIMENTS


For one 9 inch (22 centimetre) pie

For the crust,
  • 8 ounces (225 grammes) chocolate sandwich biscuits, regular or gluten free
  • 3 ounces (85 grammes) butter, at room temperature
  • 2 ounces (55 grammes) brown sugar
For the filling,
  • 16 fluid ounces (2 cups, 455 millilitres) whole milk
  • 4 fluid ounces (180 millilitres) whipping cream (about 30% fat)
  • 2½ to 3 tablespoons (37 to 45 millilitres) cornflour
  • 2 ounces (55 grammes) caster sugar
  • 2 tablespoons (30 millilitres) cocoa powder
  • Good pinch of salt
  • 2 teaspoons (10 millilitres) vanilla essence
  • ½ teaspoon (3 millilitres) instant coffee
  • 1 tablespoon (15 grammes) butter
To decorate,

  • Whipped cream
  • White chocolate
  • Cocoa powder

HOW-TO
  • Prepare the biscuit crust in the same way as the key lime pie recipe.
  • In a saucepan off the heat, mix together the sugar, cornflour, cocoa powder, and salt until completely combined and all the lumps are gone.
  • Gradually add the milk, mixing all the time, slowly but surely to avoid lumps. Add in the cream and coffee and mix well.
  • Cook the custard over medium heat until it comes to a boil. Cook at a boil for about 3 or 4 minutes until it has thickened.
  • Take off the heat and add in the vanilla and butter, stirring until the butter has melted into the custard completely.
  • Pour the custard into the crust and smooth out, shaking the tin a little to settle the top. If you don't want a skin on the surface, cover the top directly with clingfilm.
  • Allow to cool to room temperature before putting in the fridge to chill for at least 4 hours, or overnight.
  • The next day, make a Pi symbol as in the key lime pie recipe, using cocoa powder to coat instead of sprinkles. Allow to set completely in the fridge, about half an hour.
  • Remove the clingfilm and cover the surface of the pie with lightly whipped cream. Set the Pi symbol on top.

No blogs on this day in previous years.

Monday, 13 March 2017

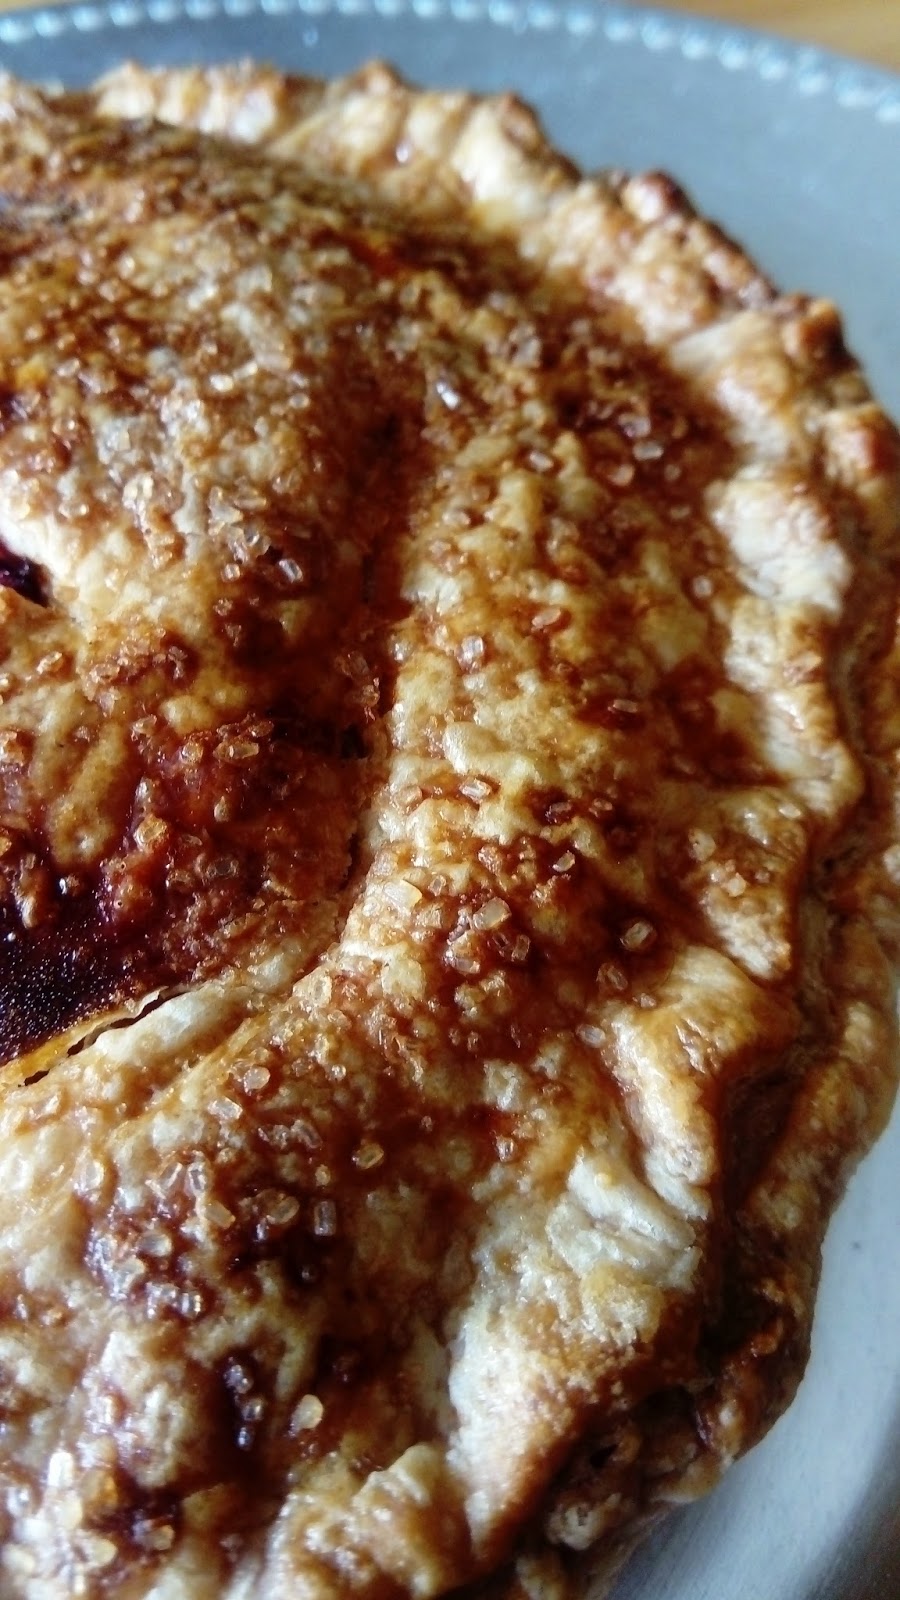
Pi Day Special: Cherry Pie (Wheat- and Egg Free, with Dairy Free Option)

Nothing can beat tender, crisp, flaky pastry wrapped a sweet and sour and slightly spicy fruity filling, and that's why this cherry pie is so delicious!


I love fruit tarts, particularly apple tart, but they can really be made or broken by their pastries: sometimes it can be too hard or too crumbly; too firm or too soft; too thick or too thin. It's a very subjective thing. Personally, I love a pastry that makes a fabulous crispy sound when you bite into it, and it firm enough to hold its shape when cut. This is such a pastry.

The trick to great pastry is to make sure everything is cold, cold, cold! You've seen it repeated in cookery blogs all over the internet, and cooking personalities on the telly say it over and over again, but they wouldn't say it if it weren't true. The trick to tender flaky pastry is cold dough, hot oven (this is also true of popovers and Yorkshire pudding), and there are a few ways of achieving this with very little effort.

1. Hands are warm, use them as little as possible
Hands generate heat, as does working the pastry too much. Try and be as cold and distant as possible with your pastry: use cold knives to mix, not your hands, and when you do use your hands, only use the very tips of your fingers.

2. Keep everything in the fridge, even the tools...
Like many people advise when whipping cream, it's wise to chill your tools: use a glass bowl if you can, and chill the knives, the box grater, etc.

3. ... and the flour...
Yes: chill your flour for at least half an hour beforehand. If you can freeze it, even better. Same goes for the butter and vegetable fat (I use a combination for maximum flakiness); and make sure the water is as cold as you can get it without it turning into ice cubes.

4. ... and the filling.
Make sure whatever filling you're using it also cold. If you put warm, or God forbid hot, filling into the cold pastry, it will melt all that fat that you've been trying so hard to keep cold all this time; you'll undo pretty much all of your hard work.

5. Chill between steps
After making the dough, chill it. After rolling the dough, chill it. After lining the dish, chill it. If at any point you see the butter or fat softening in the dough, chill it. Heck, even if you can chill the pie after it's fully assembled for a few minutes, do so. Obviously, this is best case scenario, so in the recipe I have outlined chilling only where completely and utterly necessary.

Keeping that in mind, making the dough it really simple. No rubbing of fat into flour necessary: the box grater does all the hard work for you!

So, without further ado, let's get baking...

INGREDIMENTS
For one 9 inch (22 centimetre) round pie

For the pastry
  • 12 ounces (340 grammes) white spelt flour, preferably cold
  • 3 ounces (85 grammes) butter or margarine, very cold
  • 3 ounces (85 grammes) white vegetable fat, very cold
  • 1 ounces (30 grammes) caster sugar
  • A few drops of lemon juice, or white vinegar
  • Up to 5 fluid ounces (150 millilitres) very cold water, to bind
  • Good pinch of salt
  • 1 egg, beaten with 1 tablespoon (15 millilitres) of water, or use all milk for an egg free version
  • Coarse Demerara sugar, for sprinkling
For the filling
  • Two 14 ounce (400 gramme) can of cherries in syrup, I used black cherries but you can use whatever canned cherries you want
  • 4 teaspoons (20 millilitres) cornflour
  • 1 tablespoon (15 millilitres) lemon or lime juice
  • 1 tablespoon (15 gramme) sugar, white or brown
  • ¼ teaspoon (1 millilitre) mixed spice
  • Generous pinch of salt

HOW-TO
To make the filling,
  • Empty one can into a saucepan, and drain the other can. Add the drained cherries to the pan, and save the syrup for another project. In a small bowl, mix the the cornflour, sugar, lemon or lime juice, mixed spice, and salt with a little water until it becomes a slurry.
  • Add in the slurry, stir through thoroughly, and then cook over medium high. Bring to the boil, and boil continuously for about 3 to 4 minutes.
  • Pour immediately into a shallow bowl, and cover the surface of the filling directly with cling film. Allow to cool to room temperature before chilling until completely cold, about 2 hours.

To make pastry,
  • In a large mixing bowl, add the flour and salt, then grate in the butter and the fat on the coarse side, dipping the grating side in the flour between strokes to prevent clumping.
  • Very gently rub and break up the strands of butter and fat between your fingers to make the pieces smaller, about the size of peas.
  • Add in the lemon juice or vinegar, then add in a tablespoon or two (15 or 30 millilitres) of the water. Use the tip of a table knife to mix the water through. Continue this until you get a nice soft dough. It shouldn't be sticky. I added about 8 tablespoons in total myself, but it depends a lot on humidity and flour quality.
  • Make the dough into a disc, wrap in clingfilm, and chill in the fridge for an hour, or the freezer for half an hour.
To assemble the pie
  • Preheat the oven to 180°C (350°F, Gas Mk.4) and lightly (and when I say lightly, I mean it) grease a 8 or 9 inch (20 or 22 centimetre) pie dish.
  • Take the dough out of the fridge or freezer, then cut into two pieces, roughly two-thirds and one third. Wrap the smaller piece and return to the fridge.
  • Roll out the larger piece to about quarter of an inch thick (5 millimetres) on a flour surface. Drape into the pie dish and press into shape. Trim the overhang.
  • Pour in the completely cooled filling into the pastry, then wet the edges with some egg wash or milk.
  • Take the remaining dough out of the fridge, and place it on the work surface on top of the trimmings. Roll out as before, then drape over the topping, pressing onto the wet rim of the base layer. If you want the Pi symbol cut into it like I have, do that before draping and lift it very carefully.
  • Once again, trim the overhang with a straight cut, or a crimped cutter, or in whatever way you want. Brush the top with eggwash or milk, and sprinkle with the coarse Demerara sugar.
  • Pierce the top of the pie if you've not done the Pi symbol to allow steam to escape.
  • Place on the centre rack of the preheated oven, and bake for 40 to 50 minutes, or until golden brown. The filling is precooked, so you're just cooking the pastry. If it browns too quickly on top, cover with foil to allow the bottom crust to fully cook (don't make my mistake and let the top get a sun tan!)

No blogs on this day in previous years.

Sunday, 12 March 2017

Pi Day Special: Key Lime Pie (Wheat- and Egg Free)

Happy Pi Day, everyone! In celebration of this joyous affair, I am providing many pies, and today is the first of my three offerings: Key Lime Pie!


March the 14th is Pi Day, because in the American date system it's 3/14, and Pi is 3.14 (totes nerdy), and people on this day like to eat pie. In America also, pie tends to refer to dessert rather than dinner, whereas here in Ireland and the UK we tend to think of pie as something meaty.

I did a key lime pie a few years ago for Pi day, but I wasn't a big fan of the no bake version: I found the texture lacking. I've been researching online different ways of doing a key lime pie, and there are a few versions that are baked. Some include eggs, and others don't: in fact, the simplest version is just lime juice and zest mixed with condensed milk.


This version uses good old fashioned chemistry to set itself. If you mix something acidic with something dairy, it will curdle and thicken, which is how the no bake one works: you mix lime juice with condensed milk and boom you have something that's slightly custardy.

However, if you slightly heat the mixture it will set into something a little more curd-like. In the UK, there is a traditional dessert called posset, where heated cream is mixed with sugar and lemon juice to make something that sets kind of like panna cotta. In a key lime pie, the heating is done not on the stovetop, but in the oven.


The brief trip in the oven changes the texture into something much firmer and cut-able than a simply mixing the ingredients together and bunging them in the fridge.

This recipe I mixed condensed milk together with whipping cream to make it much less sweet, but if you like you can use all condensed milk.

INGREDIMENTS

For the crust
  • 8 ounces (225 grammes) ginger biscuits or digestives, regular or gluten free
  • 3 ounces (85 grammes) butter, at room temperature
  • 2 ounces (55 grammes) caster sugar
For the filling
  • One 14 ounce (397 gramme) can of condensed milk
  • 6 fluid ounces (180 millilitres) whipping cream (about 30% fat)
  • 4 fluid ounces (120 millilitres) lime or lemon juice
  • Zest of one lime
  • 2 teaspoons (10 millilitres) vanilla essence
  • Good pinch of salt
To decorate,
  • Whipped cream
  • White chocolate, melted
  • Sprinkles, crushed biscuits, or coloured sugar

HOW-TO

First, prepare the crust
  • Preheat the oven to 180°C (350°F, Gas Mk.4), and find an 8 or 9 inch (20 or 22 centimetre) pie dish.
  • Crush the biscuits into a fine sand using a food processor, or by rolling over the biscuits in a sandwich bag.
  • Melt the butter in a medium sized saucepan and add in the biscuits, sugar, and salt. Mix until thoroughly combined.
  • Press the crumbs into the base and sides of the dish, packing tightly, and bake in the oven for about 5 to 8 minutes.
  • If the crust loses its shape during cooking, you can reshape it with a flat bottomed glass while it's still hot.
  • Allow to cool completely before filling, which should take about half an hour

Then make the filling
  • In a large bowl, mix together all the filling ingredients except the juice until completely combined and smooth.
  • Add in the juice and mix thoroughly: the mixture will thicken rapidly as you mix in the acidic lime juice.
  • Pour the filling mixture into the cooled crust and shake to level the top. Tap a few times on the work surface to release any bubbles.
  • Return the pie to the oven at 180°C (350°F, Gas Mk.4) and bake for 15 minutes, or until the filling it set.
  • Allow to cool to room temperature, then chill in the fridge for at least 4 hours, preferably overnight.
Now, assemble the masterpiece
  • Cut out a small square of baking paper and stick it to a flat board with cellotape. Melt the white chocolate and draw out a Pi shape. While the chocolate is still wet, coat with sprinkles or another decoration. Allow to set completely, which will take about an hour.
  • Decorate the top of the pie with whipped cream and the Pi symbol. Serve cold.

No blogs this time in previous years.

Monday, 16 March 2015

March Afternoon Tea Party: St. Patrick's Day

I'm back! But only for a this one blog. Right after my film project (which unfortunately we'll have to extend due to a camera hiccough) my mother got ill and I've had to take on a few of her responsibilities, meaning I'm not at home half the time at the moment.

So on Saturday we had this month's afternoon tea party at the community centre, and we themed it obviously around St. Patrick's Day, meaning lots of green.


I have very fond memories on St. Patrick's Day. My older brother is called Patrick, and every year as children we'd sort in a way treat is like his second birthday: my mother would dye her usual daily bread loaf green, and make green biscuits, and we used to put green dye in lemonade; my Dad even put green dye in his lager. And to this day, even at my ripe old age of 482, I make green cakes and things for St. Patrick's Day.

Coincidentally, this month's tea party fell on the same day as Pi day, so I made a no bake key lime pie with the symbol Pi on it for added nerd factor. I also made some minty chocolate chip cookies, decorated with milk chocolate drizzle and green homemade sprinkles.


To make the key lime pie, I used the recipe available on the BBC Good Food website. However, I halved the filling quantity because I used a smaller tin, but used the same amount of biscuit base so I could make a biscuit base with sides; I also replaced digestives with gingernuts for the green-white-and-gold vibe. I decorated the top with a Pi symbol made up of green Jelly Tots.


Sorry that the photographs aren't great, and that my blog posts are sporadic at the moment, but work is work! Hopefully I'll be back to my baking self soon.

It's been a while! Happy 9th Anniversary!

  It's been a while. The past two years have been a helluva a ride. This year is gonna hold some big changes for this blog. I'm comp...